The Hope Banner Project
Let's spread positivity and nice thoughts to our favorite places and people!

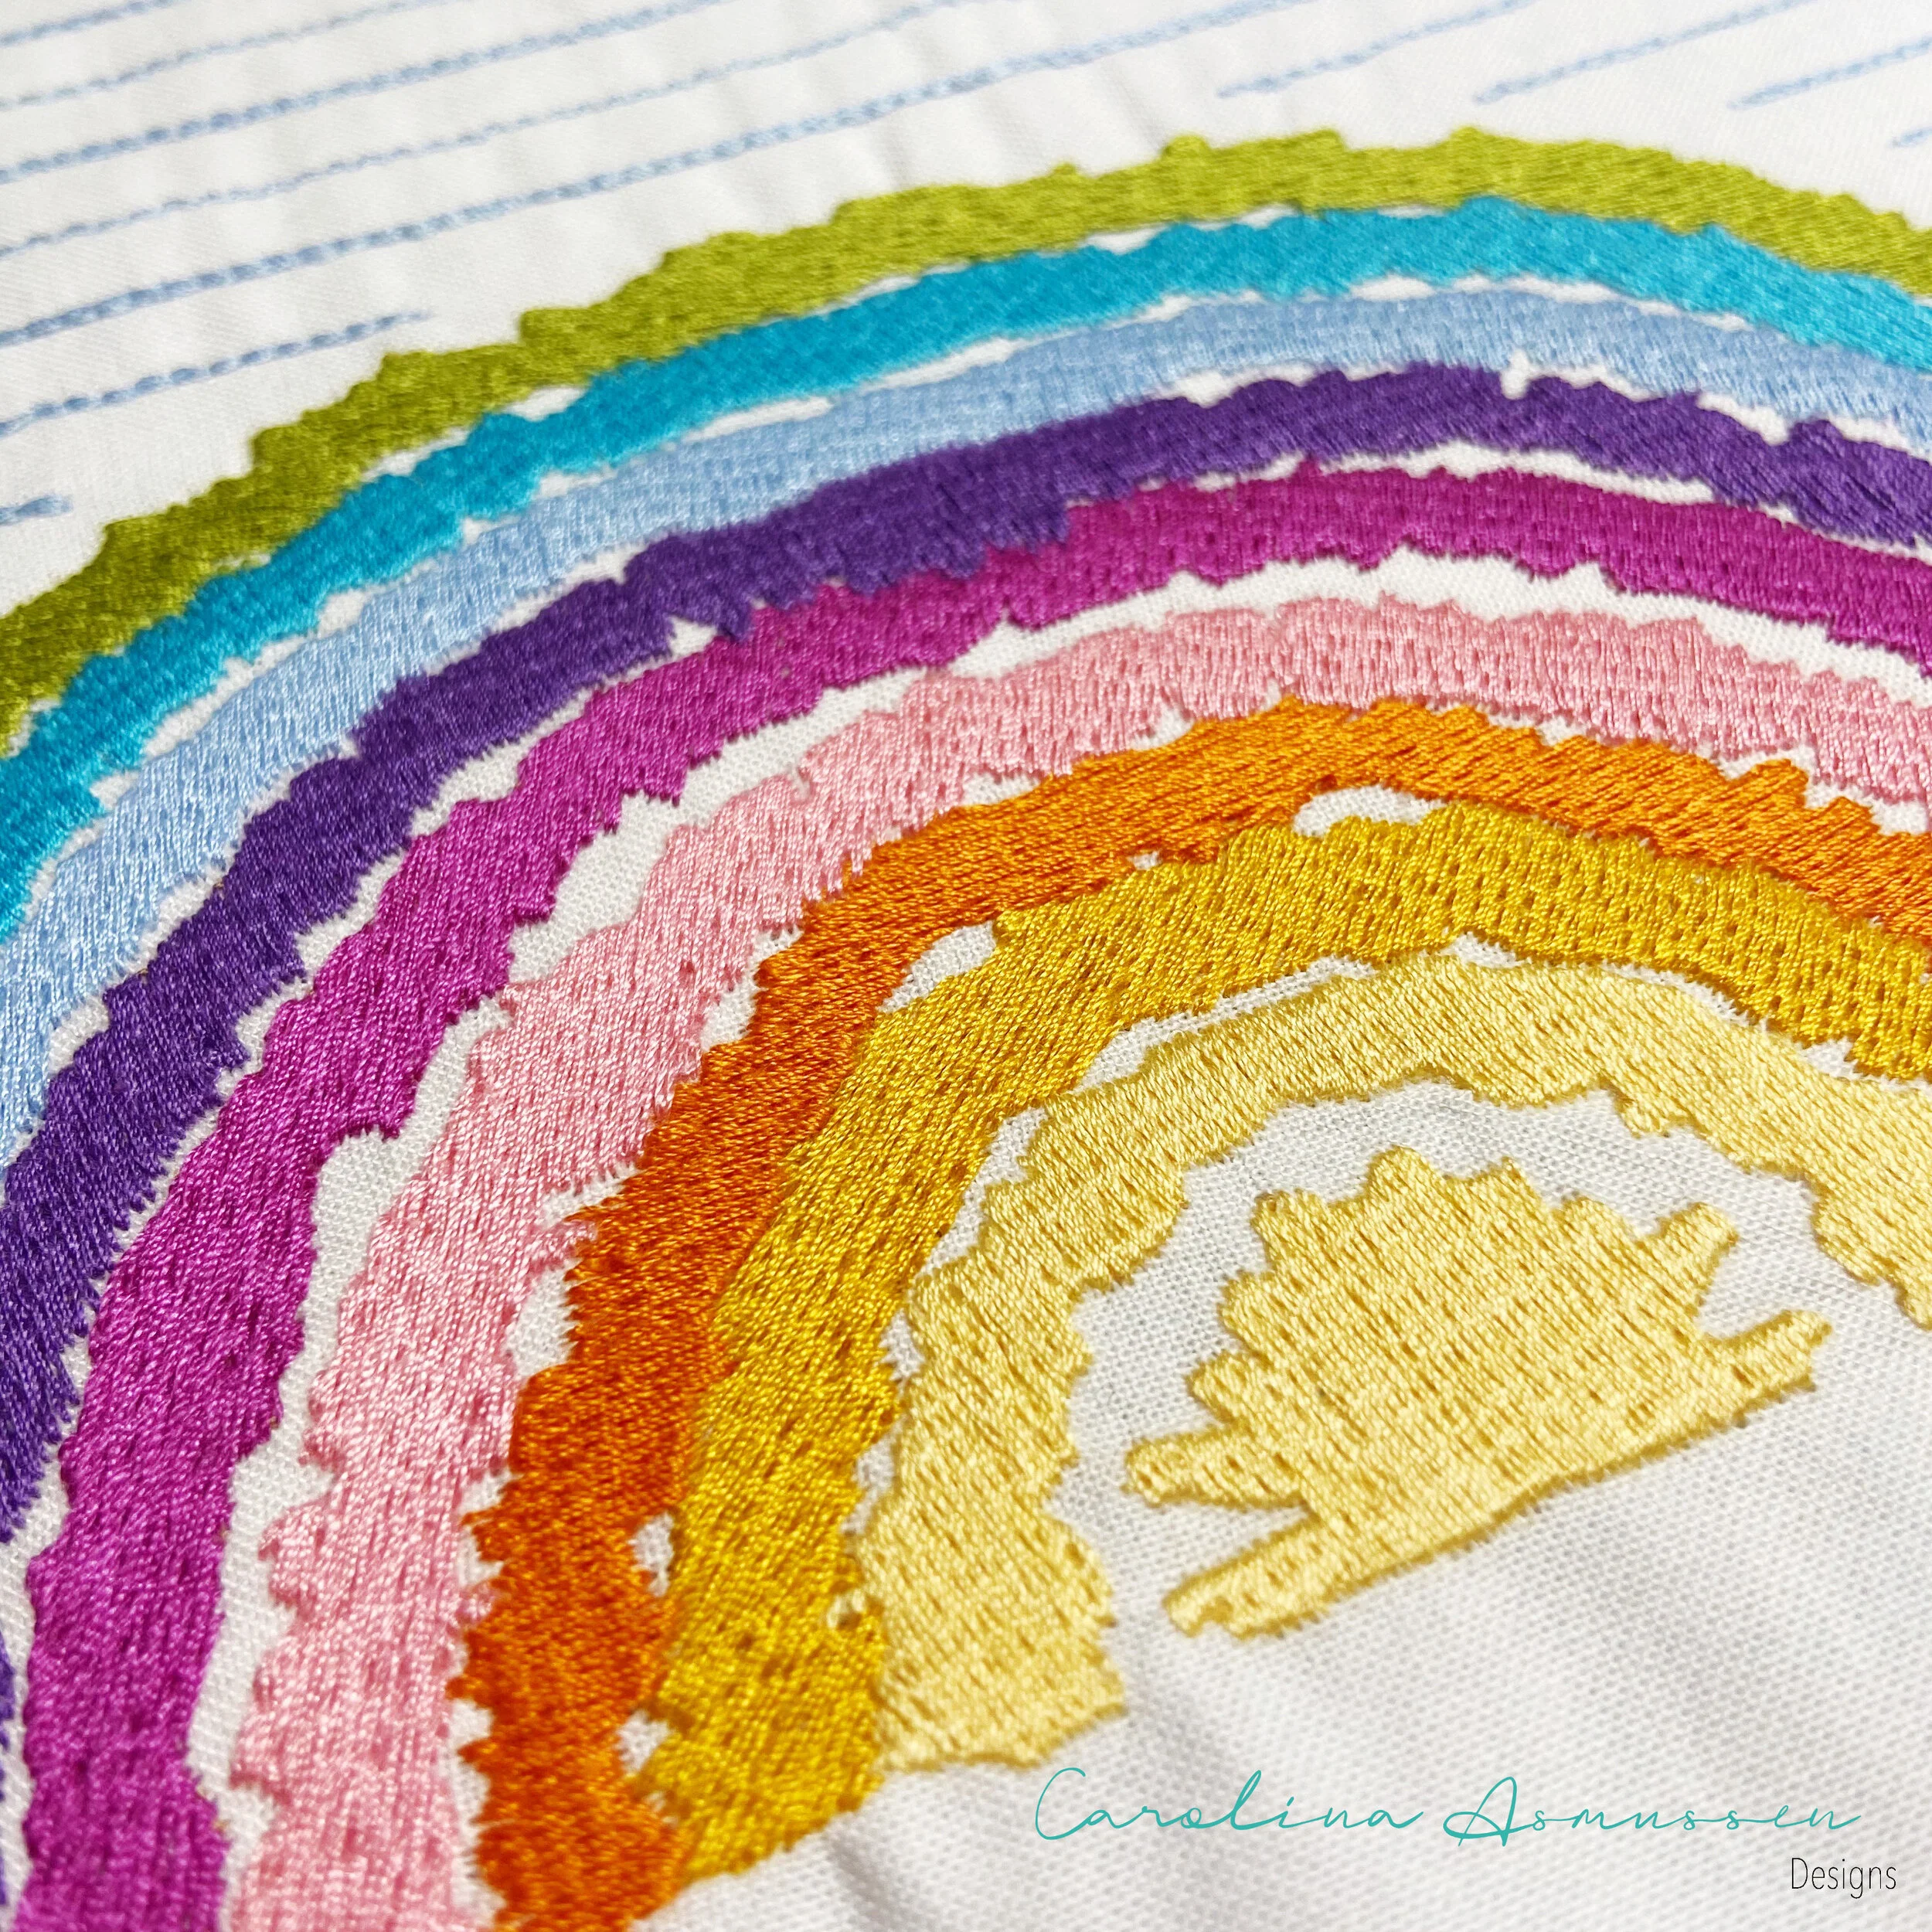
The Hope Banner, finished size 7 3/4" x 11 3/4"
#thehopebannerproject #hope #islandbatik #thebestfrombali #islandbatikambassador #pfaff #pfaffcreativeicon #iOS #ipadpro #procreate #digitalsketch #modernsewing #embroidery #surfacedesign #illustrator #design #rainbow #colors #aurifil #aurifilthread #machineembroidery #embroideryfun #embroiderydesign
Last July I started to play with the Premier + 2 Embroidery System software from Pfaff for the iOS (for Apple computers). I'm having so much fun with the possibility of transforming all my SVG and digital sketches into embroidery projects that I decided to share this one with you! And also because lately we are in need of some extra hope around us ;)
Here is a little video with a glimpse of my creative designing process, starting on the iPad pro and apple pencil with the Procreate app, then going to Illustrator, Premier + 2 and via wifi (no cables) to the Pfaff Creative Icon. You could definitely just download a simple .jpg file to the software and it would work perfectly, but I like to have control of my designs in all the steps of the process.
So this is how it is going to work... First, the list with all the embroidery extensions available for the Hope banner design:

Premier+/ Husqvarna Viking/Pfaff (.vp4)
Brother/ Baby Lock/ Bernina (.pes)
*If your machine doesn't work with any of these extensions above, it means I cannot have a compatible embroidery file for you.
Now that you have your Hope embroidery downloaded, let's start with the banner!
Material requirements:
Fat quarter fabric in white (I used Island Batik solids in white)
8 1/4" x 11 3/4" piece of fabric for the background (I used Island Batik Basics in Sky)
8 1/4" x 2" piece for the banner holder
(2) 8 1/4" x 11 3/4" pieces of Pellon 906F - Sheerweight Fusible Interfacing
Aurifil thread 50wt in colors: 2021(for piecing and regular sewing), for the embroidered rainbow 2123, 2140, 2150, 2425, 2535, 2520, 2715, 5005, and 1147.
First prepare your hoop (mine was size 260mm x 200mm) with the fat quarter in white fabric plus the stabilizer (I used Sulky Totally Stable, iron on and tear away stabilizer) and start to embroider.
After you finish, remove the stabilizer and apply the interfacing on the back of your design and also on the back fabric.
Use the diagram below as a reference to cut the excess fabric around the embroidery design making the banner shape and also as a template to cut the background fabric.

www.carolinasmussen.com
Lay the front and the back of the banner facing the right side together, piece 1/4" all the both sides and the bottom, leave the top OPEN. Carefully clip the excess of fabric from the corners and turn inside out. Press it.
Take the 8 1/4" x 2" piece and press 1/4" each 2" side to the back side. Top stitch 1/8" from the edge. Press one of the longer sides 1/4" also to the back side of the fabric. Align the raw longer side of the rectangle on the top of the banner (right side of the banner facing you). Stitch 1/4" until the end, turn the fabric and press it. Turn the banner wrong side facing you and align the folded side of the holder fabric 1/8" overlapping the line you just sewn. Pin in place. Turn the banner right side facing you again and "stitch in the ditch" following the holder piece. And it's done!
Now you just need a branch from your garden or a piece of wood and some thread (I used Aurifil Floss) to hang on your window, or door, or any spot in your life that you want to share a positive message in such difficult time!
Stay safe!

Let's spread positivity and nice thoughts to our favorite places and people!
Embroidery design file .pes compatible with:
Brother, Baby lock and BERNINA Embroidery machines.
Size: aproximate 7” x 8”
Sugested threads/colors: Aurifil thread 50wt in colors: 2021(for piecing and regular sewing), for the embroidered rainbow 2123, 2140, 2150, 2425, 2535, 2520, 2715, 5005, and 1147.
Click here for full Embroidery Hope Banner Project Tutorial.

Let's spread positivity and nice thoughts to our favorite places and people!
Embroidery design file .vp4 compatible with:
Husqvarna Viking and Pfaff Embroidery machines.
Size: aproximate 7” x 8”
Threads/colors suggestion: Aurifil thread 50wt in colors: 2021(for piecing and regular sewing), for the embroidered rainbow 2123, 2140, 2150, 2425, 2535, 2520, 2715, 5005, and 1147.
Click here for full Embroidery Hope Banner Project Tutorial.
Let's spread positivity and nice thoughts to our favorite places and people!
Embroidery design file .jef compatible with:
Janome and Singer Embroidery machines.
Size: aproximate 7” x 8”
Threads/colors suggestion: Aurifil thread 50wt in colors: 2021(for piecing and regular sewing), for the embroidered rainbow 2123, 2140, 2150, 2425, 2535, 2520, 2715, 5005, and 1147.
Click here for full Embroidery Hope Banner Project Tutorial.